Showing posts with label crafting. Show all posts

Thursday, February 19, 2015

Cups & Succulents Watercolor Card

The Cups & Succulents stamp set by Simon Says Stamp was calling out to me to be watercolored. First I started out with a piece of Tim Holtz Watercolor Paper and stamped the cup in Distress ink. I had to selectively ink the succulent & flower to get all of the colors that I wanted on one stamp. It's so much easier to do this with the mini Distress ink pads as opposed to the normal, bigger pads.


Then I took a clean, wet brush and spread the Distress ink throughout the stamped image to color it in. After it dried, I spritzed it with some water in a Mini-Mister just to move the color around even more and make it look a little more "watercolor-y" and messy. 
I then brushed some water around the cup and added some Tumbled Glass and Salty Ocean Distress ink to create the background. 
I flicked some of that blue Distress ink all over the card, then got out some Picket Fence Distress Paint and did the same thing.


Lastly, I stamped the sentiment (from the Hand Lettered Winter Wishes stamp set by SSS) in some VersaFine Onyx Black ink, and heat embossed it with clear embossing powder.
For the finishing touch, I added a few white enamel dots from My Mind's Eye in a triangular pattern around the sentiment. I cut the panel down to a teeny bit smaller than 4.25" x 5.5" and adhered it to a card base made from Neenah Solar White 110 lb cardstock.
I love how this card came out- I think I'll start doing more watercoloring on cards.

Thanks for visiting!  :D <3

-Erica Miskel


Supplies:

  • Tim Holtz Watercolor Cardstock- SSS | IE
  • Hand Lettered Winter Wishes- SSS
  • Distress Ink in Pumice Stone- SSS | EH, Picked Raspberry- SSS | EH, Mowed Lawn- SSS | EH, Mustard Seed- SSS | EH, Tumbled Glass- SSS | EH, and Salty Ocean- SSS | EH
  • Distress Paint in Picket Fence- SSS | EH
  • VersaFine Onyx Black Pigment Ink- SSS | EH
  • Simon Says Stamp Clear Embossing Powder- SSS
  • Fiskars Paper Trimmer- SSS | AZ
  • AdTech Adhesive- AZ
  • Neenah Solar White 110 lb cardstock- SSS
  • My Mind's Eye enamel dots- SSS
  • Sculpey Craft Sheet- AZ
  • Ranger Mini-Mister- SSS | EH
  • Artist's Loft brushes- M

Summer in Winter Card with Lawn Fawn

I live in Southern California so even though it's December, it still feels like summer here! I made this card with Lawn Fawn's Summertime Charm stamp set and the coordinating dies. This set came out quite a while ago, but I just got it so I thought I would go ahead and use it!


First I made the background using my watercolors. I would link to the ones I used, but I got them a looooong time ago when I was a kid so I have no idea what brand they are!

I stamped the jar image with some VersaMark ink onto a piece of vellum, then heat embossed it with some white embossing powder and used the coordinating die to cut it out. I stamped out the lemon slices & strawberries with some Memento Tuxedo Black ink, colored them with Copics, and hand cut them out since I didn't want the white trim that the dies leave. The challenge was to get the fruit pieces to look like they were inside of the jar, but still look sharp and not blurred out like the straw is behind the vellum. So I did a few tests and decided to put Multi Medium Matte onto the front of the images and glue them to the back of the vellum. 

I watercolored a little piece of watercolor cardstock to sit behind the jar and look like strawberry lemonade. I cut the paper straw (from Target- Dollar Spot) in half vertically and horizontally and glued it to the strawberry lemonade piece. I had to create some room for the straw so I put some fun foam on the edges of the vellum, behind the white embossing. Then I cut a little slit in the vellum jar, stuck the straw in and adhered the finished embellishment onto the background. 


I added some hearts with the SSS Mini Hearts die and covered them with some Wink of Stella and Glossy Accents. The card needed a sentiment so I used one from the SSS Lemonade stamp set and cut it out to fit on the SSS Folded Banner die cut.


Lastly I stamped a sentiment on the inside of the card.

And that's it! The end. This card took me a while to create, but I really like how it turned out.
Stay warm & pretend it's summer! :P

-Erica Miskel

Friday, December 12, 2014

Lawn Fawn & SSS Christmas Shaker Card

 I just found my giant box of seed beads that I've had for years, so I decided to use them in a shaker card. And also, I have been meaning to use the November 2014 card kit from Simon Says Stamp!


For this card I used:


All of my posts so far have been in different formats as far as describing the process and listing supplies goes. Sorry if that's been confusing, I'll settle on one kind of format for my posts eventually! Thanks for visiting! Do something crafty today! :)

-Erica Miskel

Sunday, September 14, 2014

Heat Embossing + Distress Inks

Hello! Thanks for visiting! I am starting this blog because I love papercrafting (and pretty much any other kind of crafting/design related stuff) and I was inspired by Kristina Werner and Jennifer McGuire. I love watching their videos and reading their blogs, so I thought I would start one of my own!


Today I made a thank you card for one of my co-workers using one of my favorite background stamps by Hero Arts.
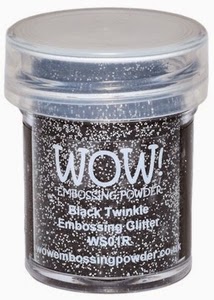
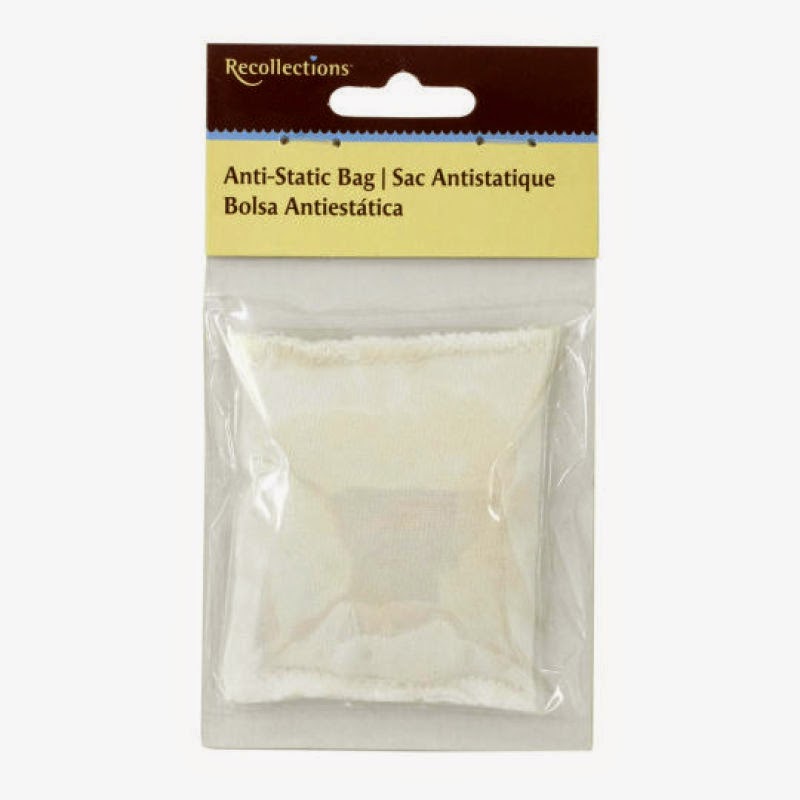
I started out with a 4.25" x 5.5" piece of Strathmore watercolor paper and blended some Distress Inks onto it with a mini blending tool. The colors I used are Picked Raspberry, Mustard Seed, Tumbled Glass, and Peacock Feathers. I'm loving the mini sized distress inks! Then I used an anti-static powder bag and rubbed it over the paper before stamping my background stamp onto it with some VersaMark ink. I spread some Charcoal embossing powder from Recollections over it. (Yeah I know, Recollections...but their embossing powders actually work really well for me) :)
I misted some water over the background to give it some water spots. 
The next step was to cut out the center of the paper with a Lawn Fawn Circle Stackables die. The "Thanks" die is also from Lawn Fawn. For that, I die cut the sentiment, then stuck it onto a piece of scrap paper with some removable adhesive. Then I inked up the die cut with some VersaMark ink, poured the same Charcoal embossing powder over it, and heat set it. To give my "Thanks" embellishment a little more dimension I used a technique that I saw Jennifer do in one of her videos: I put a couple layers of clear embossing powder over it instead of using Glossy Accents. I then adhered the embellishment to my background using Multi Medium Matte from Ranger. I added the panel with some foam tape to an A2 sized card made from Neenah Solar White 110 lb. cardstock.

I like how it came out. Clean and simple cards are my favorite! Thanks for reading! Hopefully I will have many more crafty blog posts to come. :)

-Erica


SUPPLIES
Distress Ink Pad Mini Kit #8
Distress Ink Pad Mini Kit #1
Mini Ink Blending Tool
Hero Arts Tiny Flags Background Stamp
Lawn Fawn Scripty Thanks Die
3M Foam Tape

Recollections Anti-Static Bag

Martha Stewart Heat Tool

Ranger Multi Medium Matte

Neenah Solar White Cardstock 110lb


VersaMark Ink Pad
I couldn't find the Recollections Charcoal Embossing Powder, so I linked to some other black glittery embossing powder.
WOW! Black Twinkle Embossing Powder